Nana Creator Basic Tutorial [basic.ncp]
Introduction
This tutorial will explain in detail how to take your first steps using Nana Creator.
We will begin by creating a simple nana::form widget with some controls in it.
Creating a new project
Start up Nana Creator.
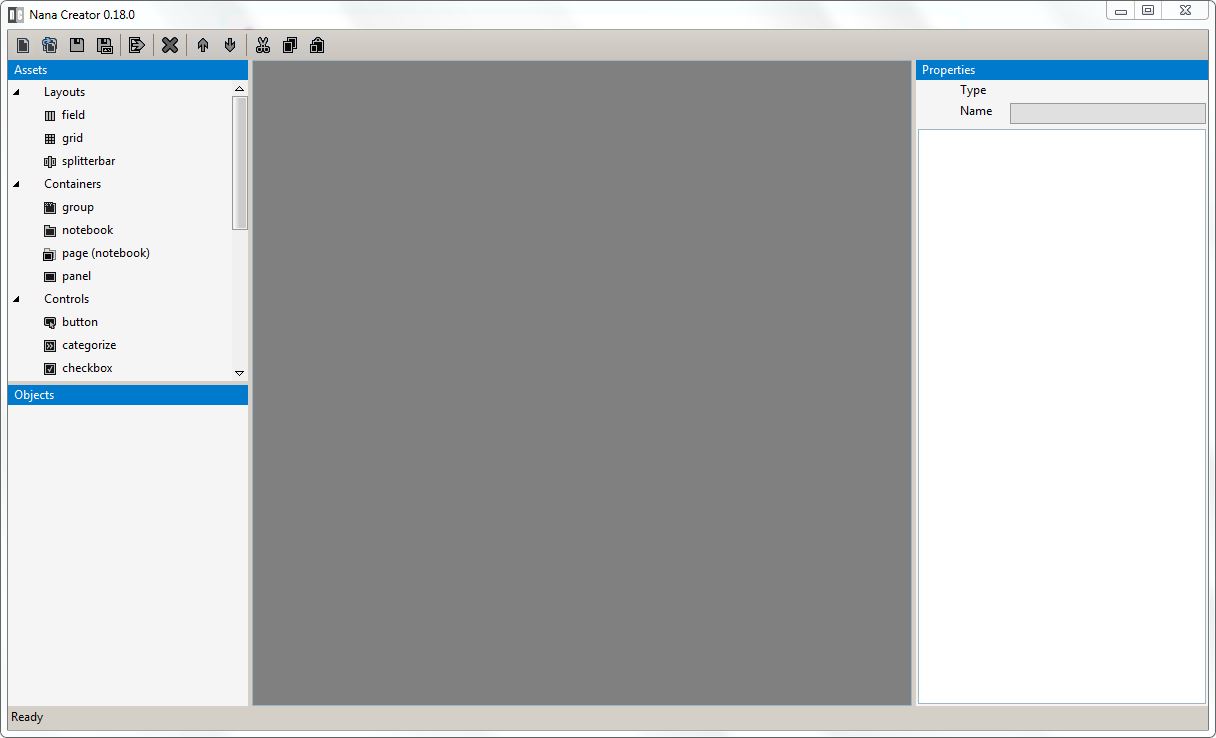
Click the New Project toolbar button.
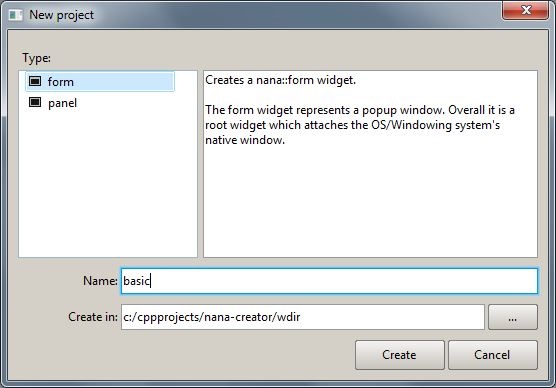
Choose nana::form, enter project name "basic", choose a folder to save the project in and click "Create".
A project consisting of a single file is created:
- basic.ncp
Changing properties
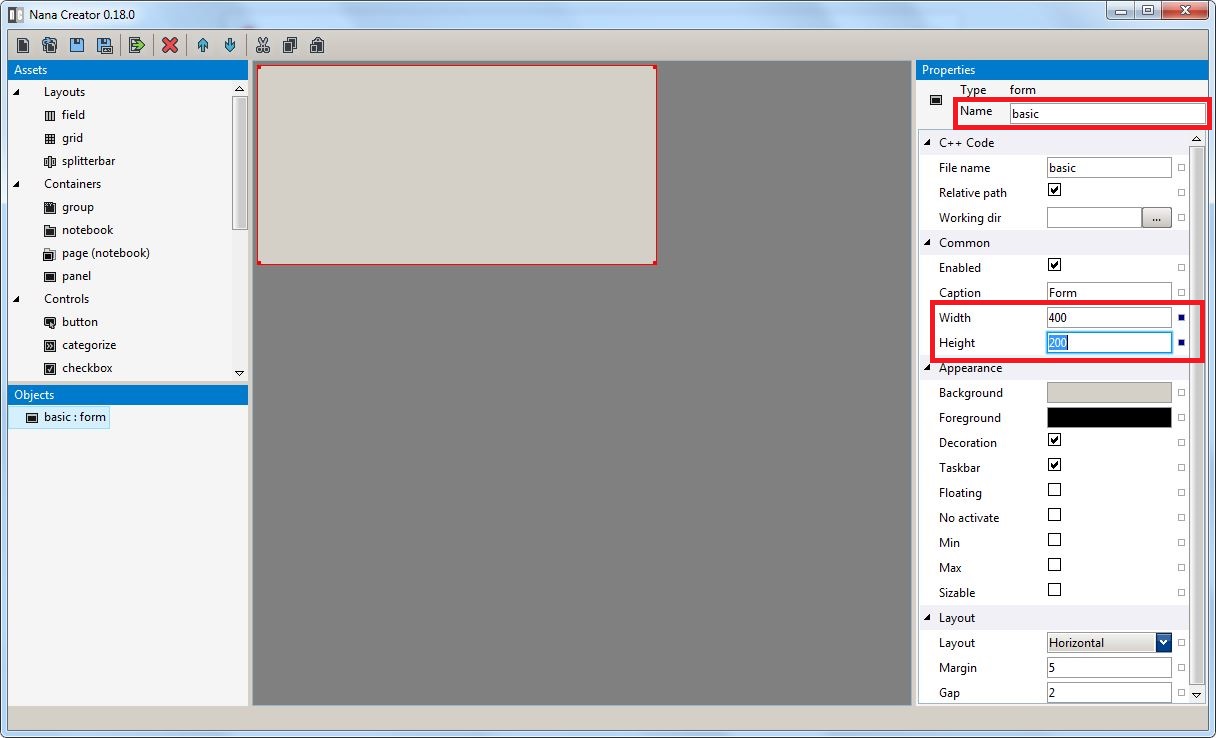
Name of the form.
Using the properties panel locate the Name, the value should be set to "basic". This is the name of the nana::form control in C++ code.
Change the size of the form.
In the properties panel change the value of Width (under the Common category) to 400 and press Enter.
In the same way change the value of Height to 200.
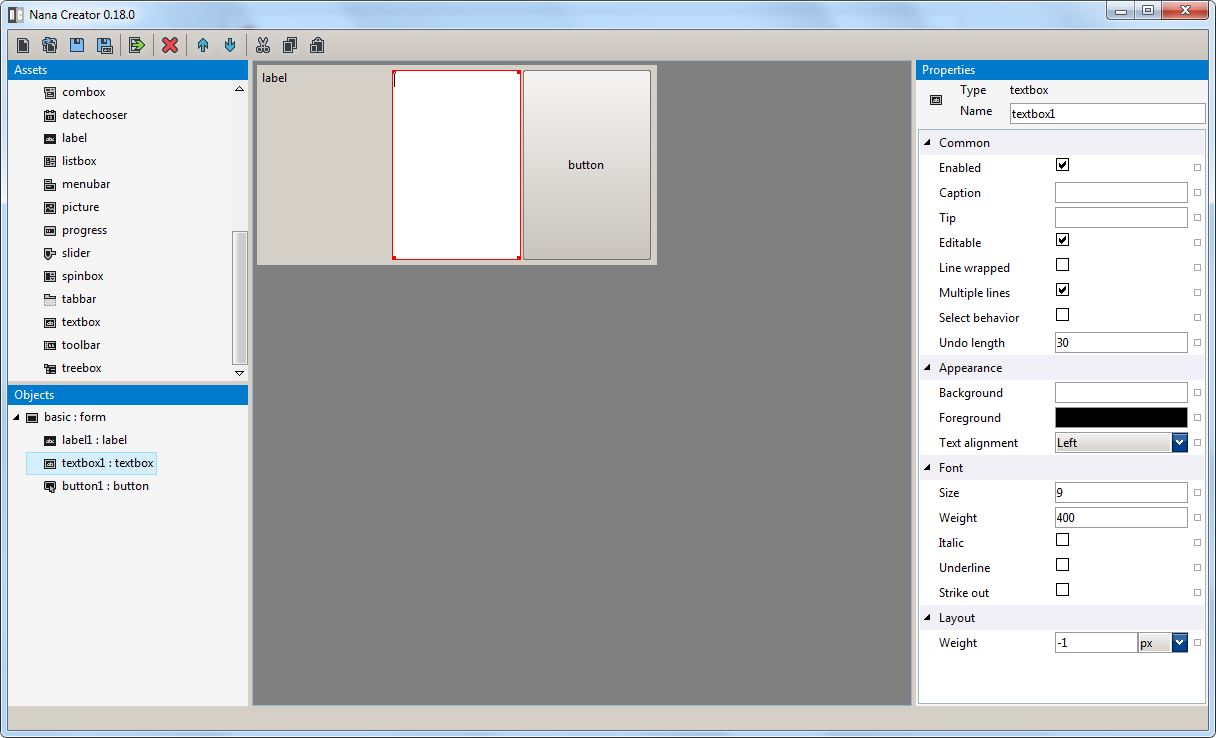
Adding controls
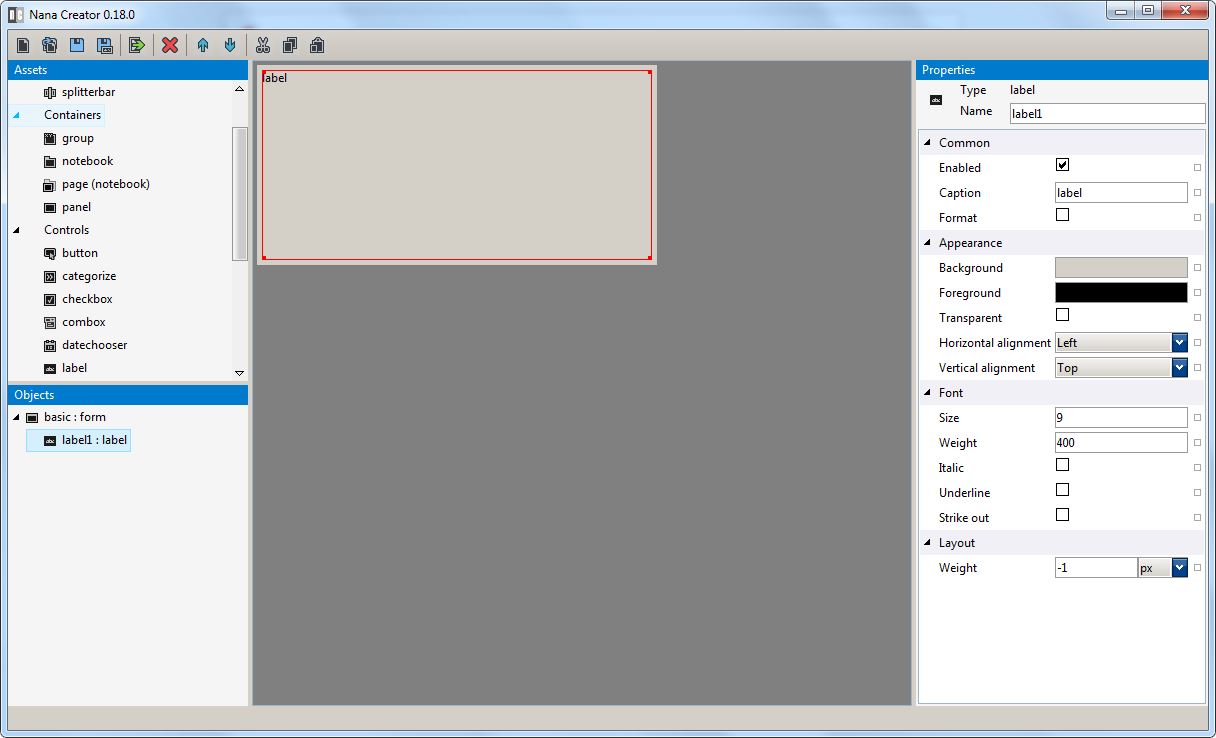
Using the Assets panel on the left click on Label then move the mouse cursor over the widget form (the background of the widget form become highlighted) and click.
Congratulations you just added your first control.
Do similarly for a Button and place it to the right of the Label. Then add a Textbox between the Label and the Button.
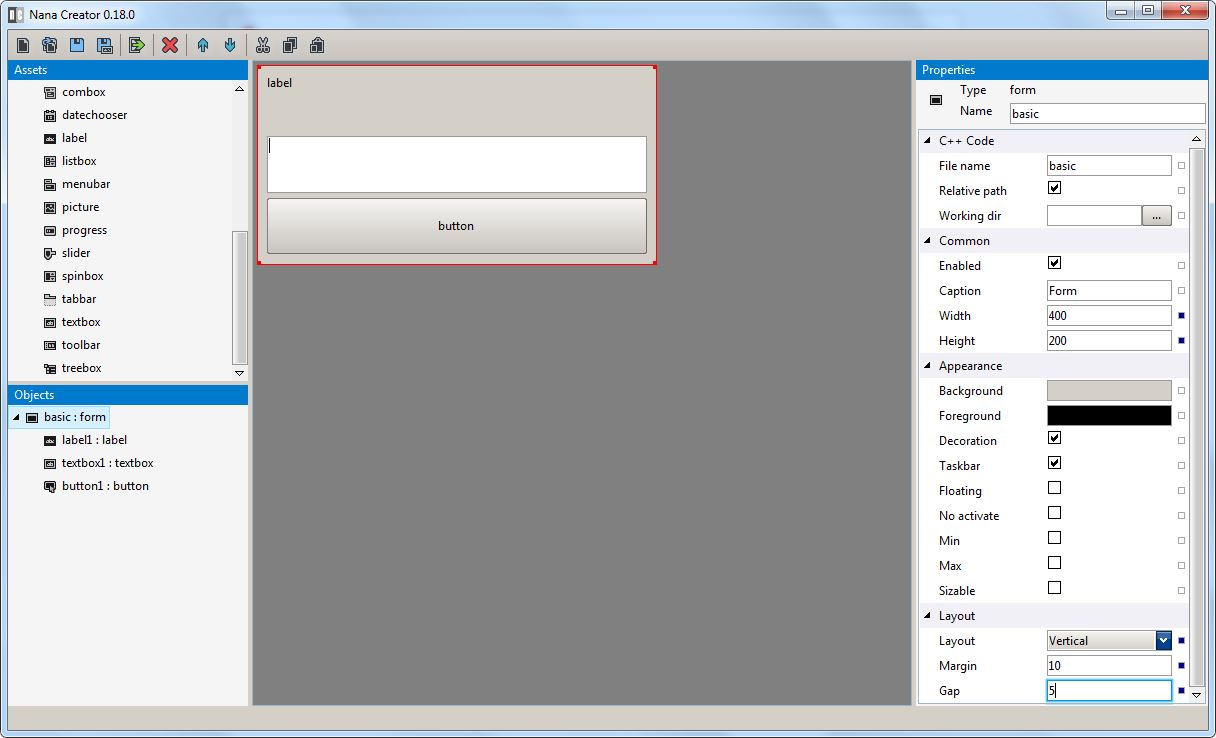
Styling the application
Using the Objects panel on the left select the widget form (or click on the background of the widget form) to display its properties.
In the properties panel change the value of Layout (under the Layout category) to Vertical and press Enter.
In the same way change the value of Margin to 10 and the value of Gap to 5.
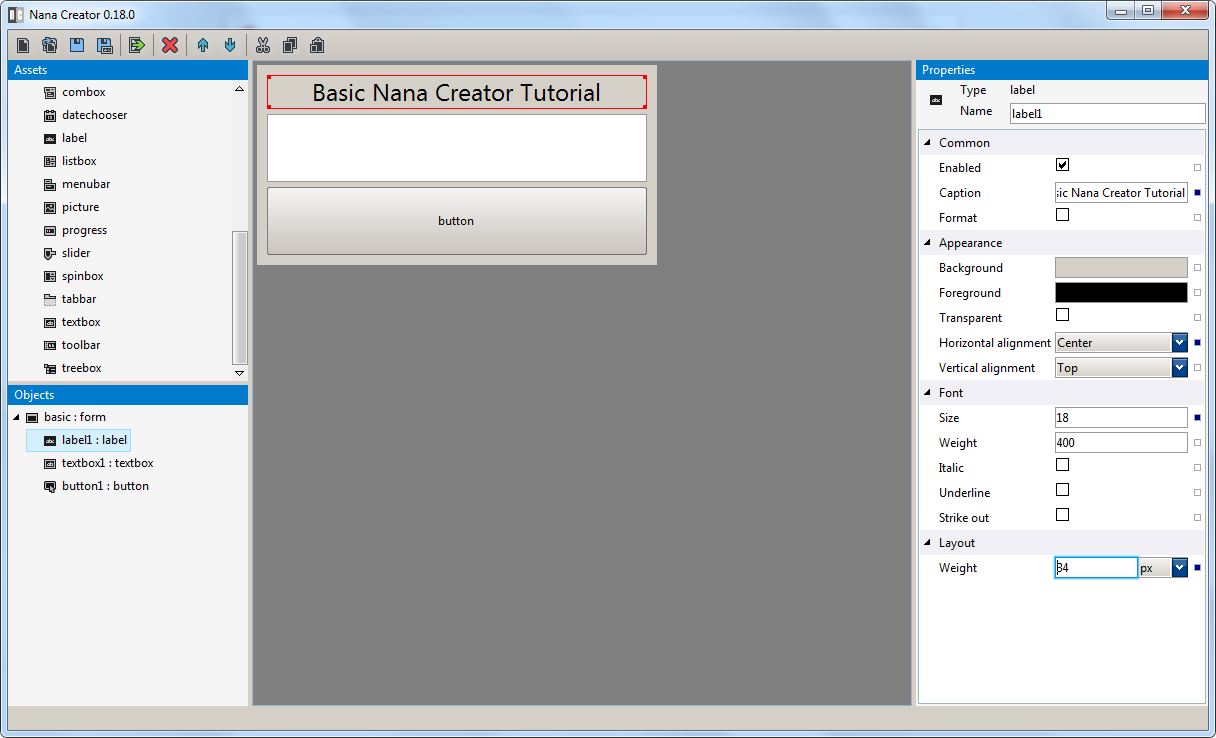
Select the Label using the Object panel or clicking on it.
Change the value of Caption to "Basic Nana Creator Tutorial", the value of Horizontal Alignment to Center, the value of Size (under the Font category) to 18 and the value of Weight (under the Layout category) to 34.
Select the Textbox.
Change the value of Tip to "Write your opinion". Click on the Backgoround colorbox (the property expand) and change the color to 255,255,50 (colors are in RGB format).
Select the Button.
Change the value of Caption to "Submit" and change the value of Weight to 34.

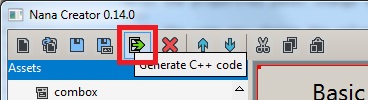
Generating code
Once the UI of our application is finished there is nothing left to do but to generate the code.
Select the Form.
Under the C++ Code category be sure the value of File Name is set to "basic" and click the Generate C++ Code toolbar button.
Nana Creator will generate the basic.h fle in the same folder where the project is.
Building and Running the application
Using your favourite C++ development environment create and edit main.cpp file to this:
    #include "basic.h"
    using namespace nana;
    void main()
    {
        basic app(0);
        app.show();
        exec();
    }
Remember to link nana library then build and run. Here our application running:
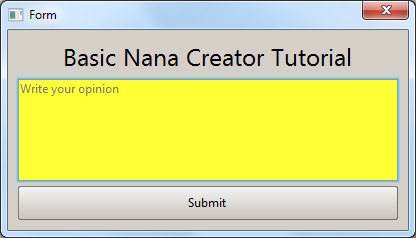
See you with the next tutorial ... CIAO !!!