Nana Creator Toolbar Tutorial [toolbar.ncp]
Introduction
This tutorial will explain in detail how to easily add tools to a toolbar using Nana Creator.
You should already know how to create a project, add controls, changing property and styles, etc... If you don't remember check the Basic Tutorial.
Let's start adding a toolbar to the widget and selecting it.
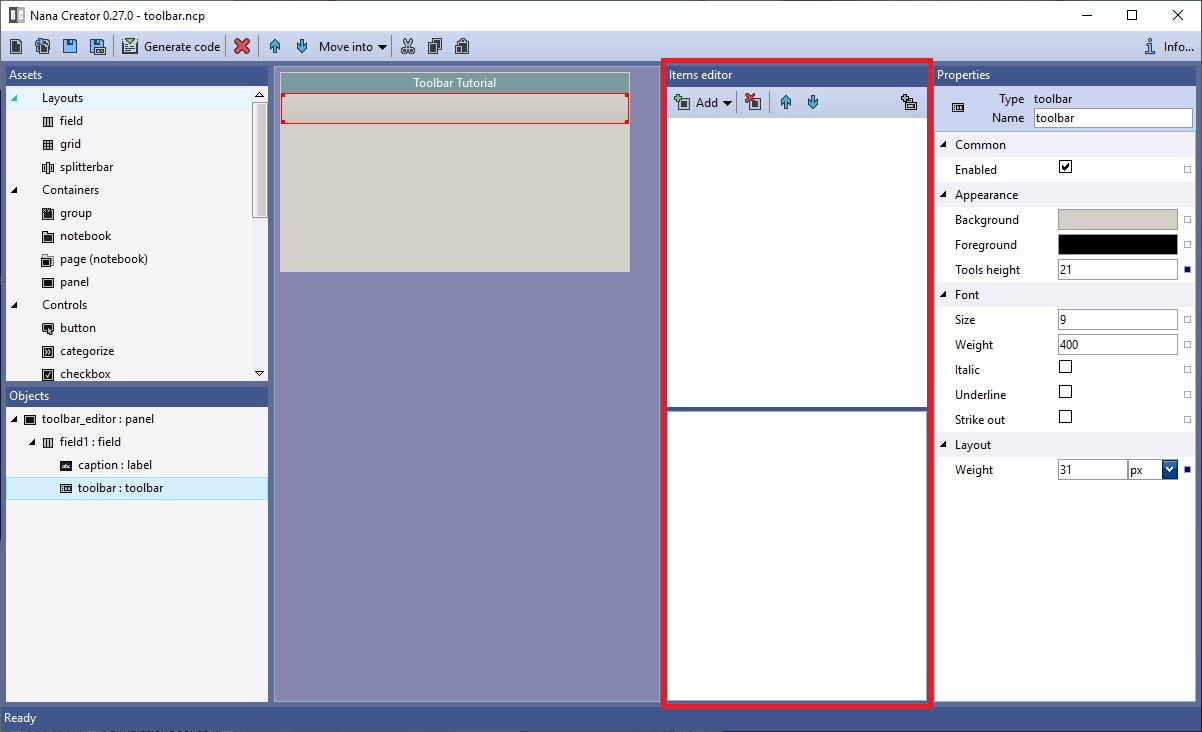
Items editor panel
When the toolbar is selected the Items editor panel becomes active.
This is the control center for managing the toolbar and all those controls made up of items (menu, listbox, combox, ...).
Using the Items editor panel we'll be able to add, remove and modify the tools of the toolbar.
Adding simple button
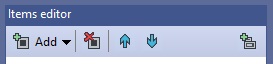
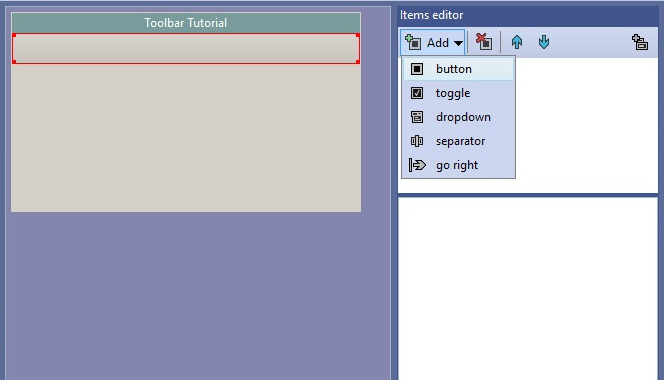
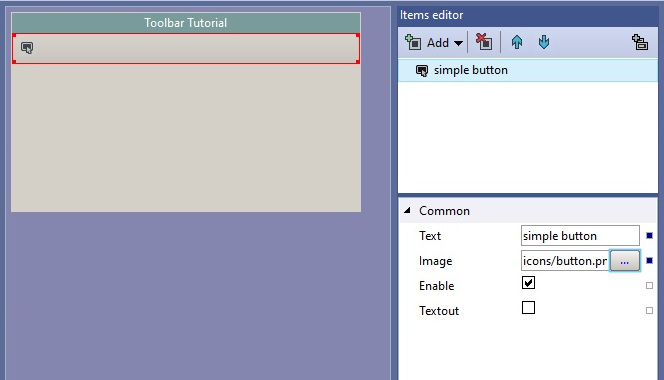
Using the Add dropdown button located in the Items editor panel left click on button.
Change the value of Text (under the Common category) to "simple button".
To select an image click on the button in the Image property.
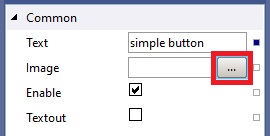
A select file dialog will open. In the dialog navigate to the icon folder inside nana installation folder (or in any directory you want) and select the button.png image (or any image you want).
Adding separator
Using the Add dropdown button left click on separator.
Adding toggle button
Using the Add dropdown button left click on toggle.
Change the value of Text to "toggle A".
Select cut.png as Image.
Then check the textout property.
In the same way add another toggle button, set Text to "toggle B", copy.png as Image and check textout.
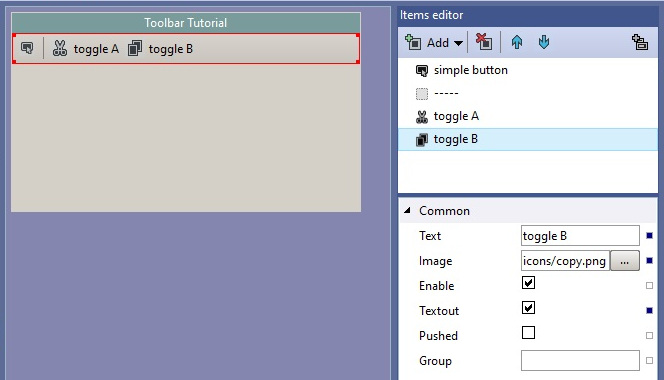
Now the two toggle buttons are independent and can be pushed or not regardless of each other.
Make the toggle buttons mutually exclusive
Often we want the toggle buttons to be mutually exclusive or in other words that only one at a time can be in the pressed state.
This is done simply by writing the same value in the Group property of each toggle button.
Select the "toggle A" button and change the value of Group to "group1".
Then select the "toggle B" button and change the value of Group to "group1".
Adding go rigth
Using the Add dropdown button left click on go right.
All the buttons after go right will be placed right aligned.
Adding dropdown button
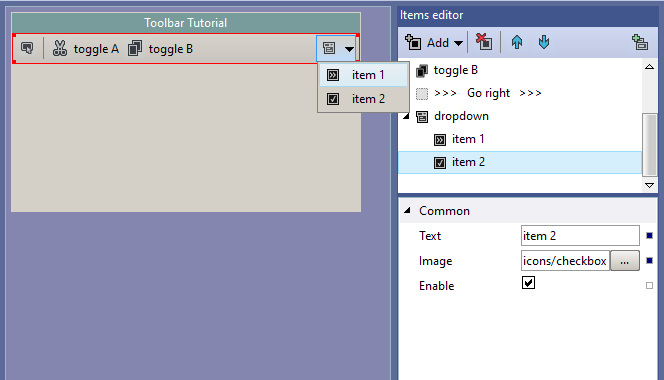
Using the Add dropdown button left click on dropdown.
Change the value of Text to "dropdown" and select combox.png as Image.
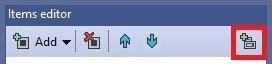
When a dropdown button is selected the Add dropdown item button located on the right becomes active.
Click the Add dropdown item button to add an item.
Change the value of Text to "item 1" and select categorize.png as Image.
Click again the Add dropdown item button to add another item.
Change the value of Text to "item 2" and select checkbox.png as Image.
Now click on the dropdown button to shown the two items.
See you with the next tutorial ... CIAO !!!